Free Convert Website To App for Android (WebView)

⭐⭐⭐⭐⭐

A new tutorial to convert your website into a mobile app, online, for Android and iOS is now available and open for all.

The WebIntoApp Creator

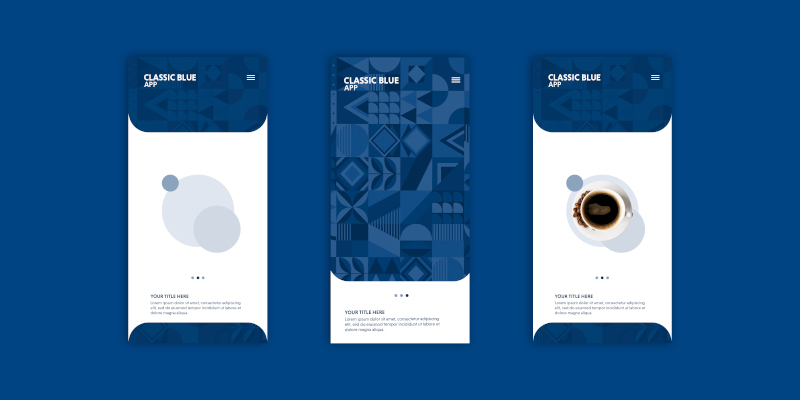
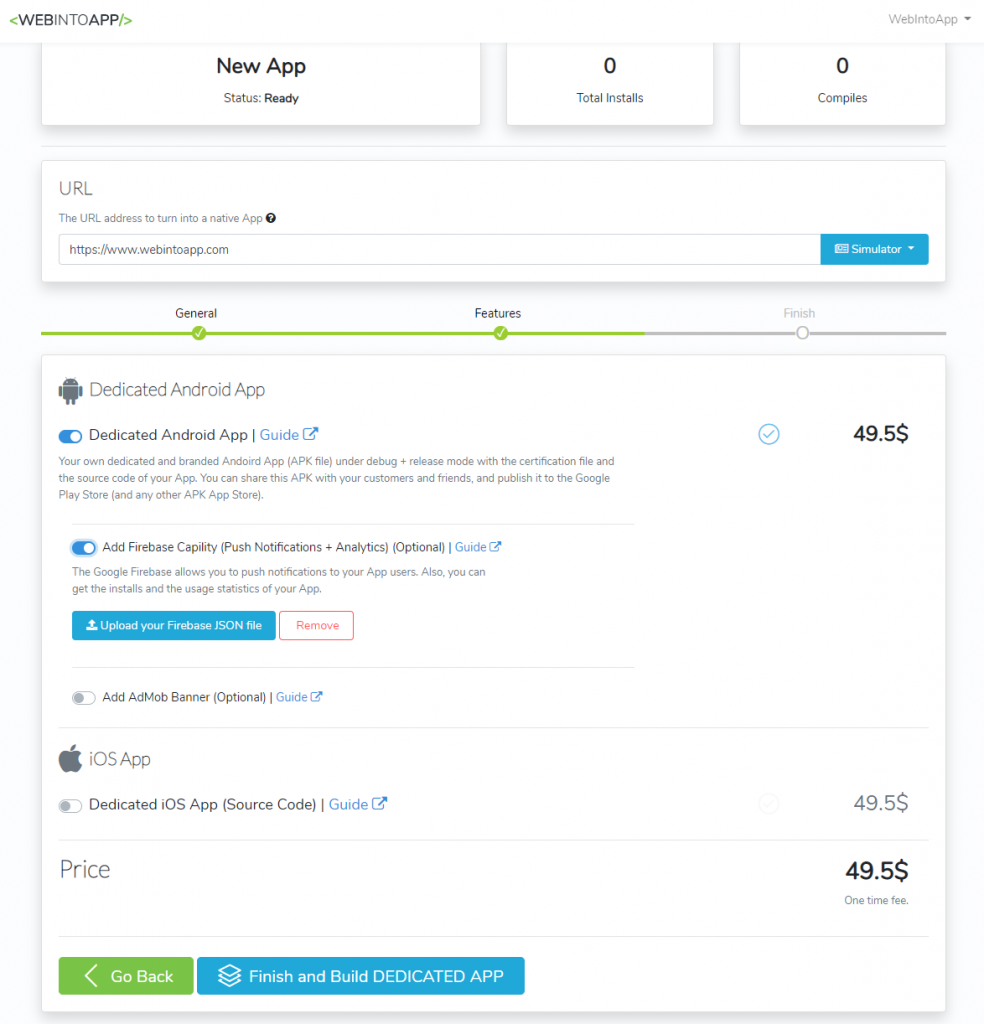
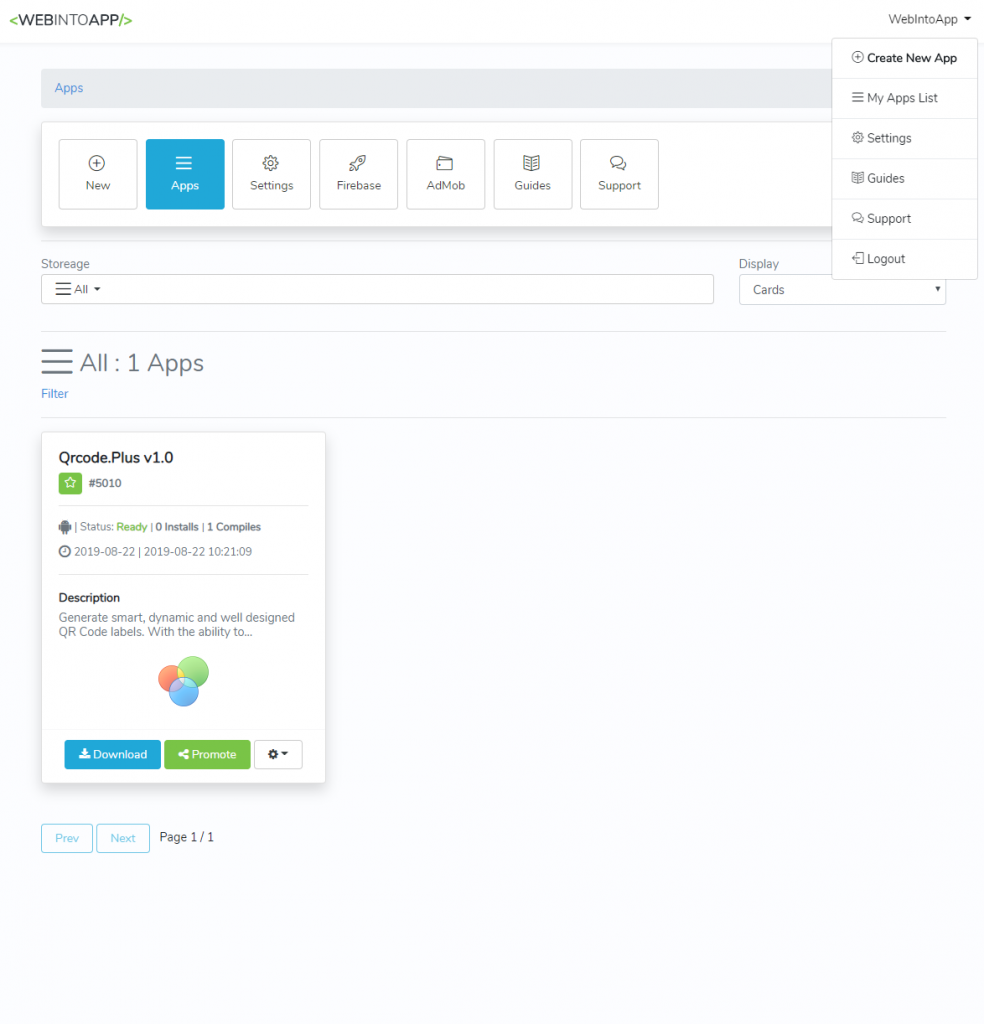
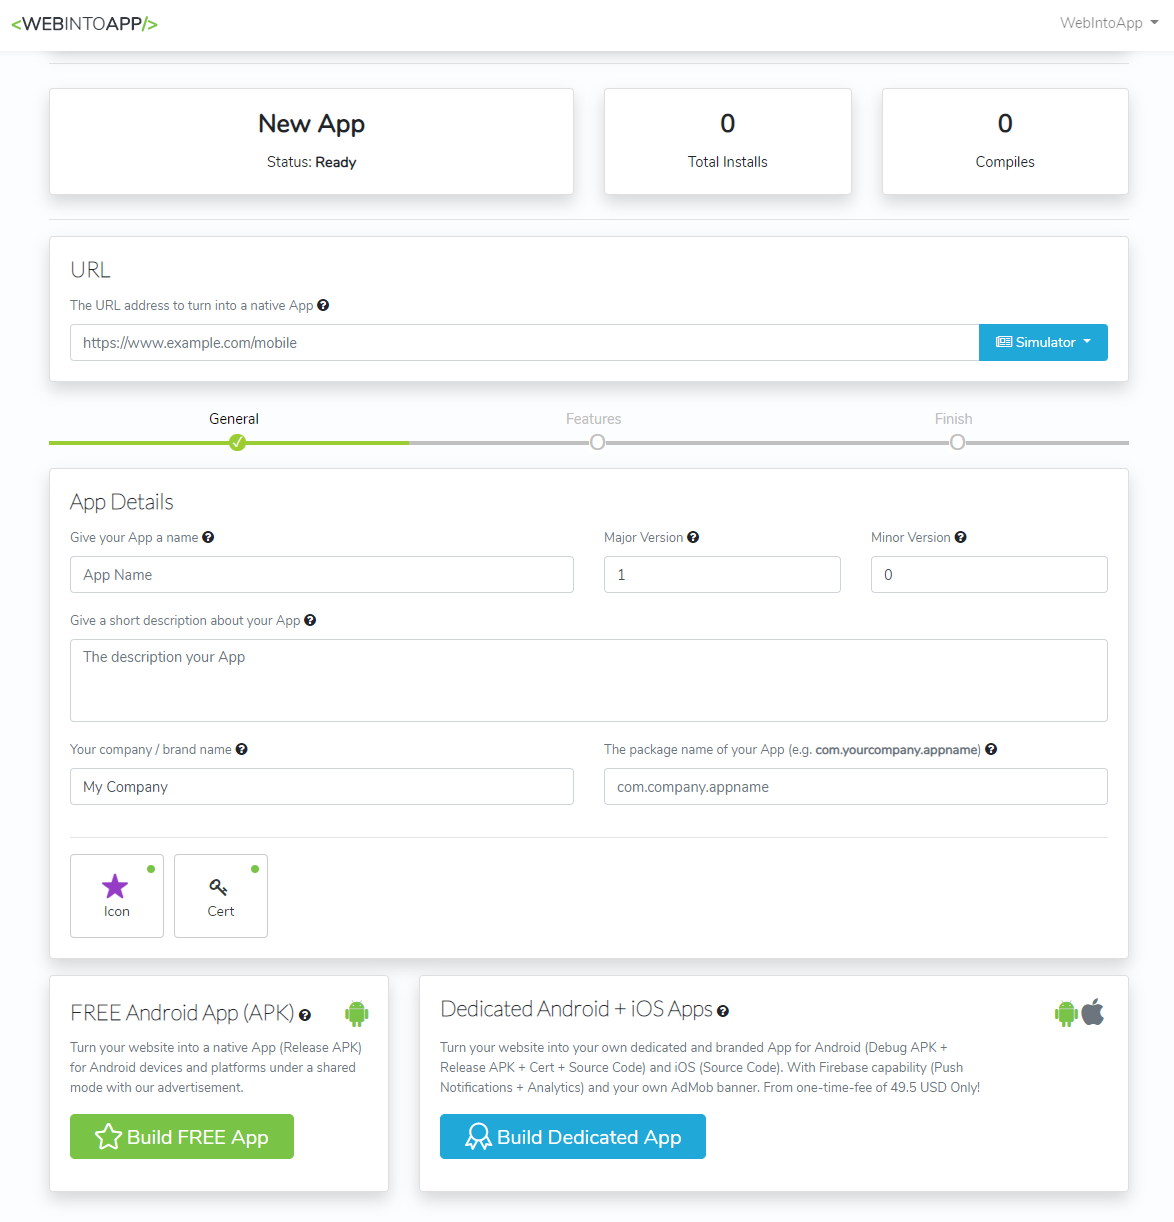
Webintoapp.com is a website that allows you to convert your website to a mobile app for Android and iOS (called also WebView App), online and within a minute.

All you need to do is to set the URL of the website that you want to convert to a mobile app, give it a name, set some features around and click on the Convert button, the system will generate APK file for you with all the details about the Ownership and Certification, so you can not only share your app with your friends, you can even publish it to the Google Play Store.

This #tutorial will #guide you how to #convert your #website into a #mobile #app, #online, for #Android and…

Posted by WebIntoapp.com on Friday, June 12, 2020
Tutorial to convert your website into a mobile app, online, for Android and for free.

You can follow us on facebook:
https://www.facebook.com/WebToAppOnline

And on twitter at:
https://twitter.com/webintoapp

Also, feel free to leave a replay above 🙂

Microsoft GIF Animator for Windows 7/8/10

The Microsoft GIF Animator is another great software from the nineties, this small and useful tool allows you to make animation GIF files from frames (images), easily.

GIF Animator
GIF Animator

Just add the images to the frames work, set the options, width, height, repeat count the loop and much more, then save the results to a GIF animation file.

GIF Animator Example 1
GIF Animator Example 2
GIF Animator Example 3


Here’s what Wikipedia says about this software:

Microsoft GIF Animator is a historical computer software program for Microsoft Windows to create simple animated GIF files based on the GIF89a file format. It was freely downloadable from the Microsoft Download Center but is now only available through MSDN and on third party download sites. It was also bundled with Microsoft Image Composer and Microsoft FrontPage.

https://en.wikipedia.org/wiki/Microsoft_GIF_Animator

This software was an add-on of the Microsoft Image Composer which is not available anymore, if you still need it you can download it from here.

Image Composer 1.5 for Windows 7/8/10

Microsoft Image Composer 1.5 was released in the nineties and it was my favorite image editor for a long time. Well, today i’m using GIMP in order to edit large and complex images, but for small editing tasks i’m still using this fast and easy to use image editor.

Image Composer 1.5
Microsoft Image Composer 1.5

This desktop image editor software is very easy to use, you can add images to the workspace, set filters and designs, save the results to images (png / jpg / gif etc ..) and much more, with a few mouse clicks only.

Effects
Effects
Arrange
Arrange
Paint
Paint
Cutout
Cutout

Microsoft stopped supporting and offering this software a long time ago, it’s understandable, today we are in 2020 and there are plenty of Image Editing solutions around. But still, if anyone still needs to use this great software, I’ve uploaded it here. You can download and install it on Windows 7/8/10, just download the zip file, extract it and hit the setup.exe file.

The correct way to display Favicon on Edge browser

I found that it was a problem to display the Favicon of my website in the MS Edge while in Chrome and FireFox there was not any problem.

After playing around it a while I’ve found that the MS Edge does not love relative paths but only absolute global http(s) addresses.

So this is the correct way to display the Favicon in the MS Edge:

<html>
  <head>

    <!-- IE -->
    <link rel="shortcut icon" type="image/x-icon" href="favicon.ico" />

    <!-- Edge -->
    <link rel="shortcut icon" href="https://www.yourdomain.com/favicon.ico" type="image/x-icon" />

    <!-- other browsers -->
    <link rel="icon" type="image/x-icon" href="favicon.ico" />

  </head>
  ... rest of your page...
</html>

The final version of the Web Into App is now online.

After a lot of work (and thinking and debugging) we are proud to announce that the final version of the Web Into App is now online.

The new version name of this release called V.EITHAN. Here are some benefits of the V.EITHAN release:

  • Turn any website into a FREE or a Dedicated App.
  • For Android and iOS platforms and devices.
  • You can compile the Android App into an APK file online (for debug and release). The iOS App is available in the source code, you can compile and distribute it with your own Mac machine (this is a requirement of Apple).
  • Pay only for the features you are using. One time fee. No subscription. No hidden fee.
  • Set the icon and the certification (the ownership) of your App easily. 
  • A FREE or a Dedicated mode.
  • Push notification to your App users using the Google Firebase.
  • Get the usage statistics of your App with Google Firebase.
  • Add your own AdMob banner and earn money.
  • Update / upgrade the version of your App in the feature.
  • A strong support.
  • Easy to use.
  • Guides and tutorials of how to use our services.

Here is the home page of the Web Into App:
https://www.webintoapp.com

Here are some guides of how to use our services:
https://www.webintoapp.com/guides

For any kind of support feel free to email us to:
webintoapp@gmail.com

Also, please note that we had created a Windows desktop version of the WebIntoApp.com services which called ‘Web-Into-App on Desktop’ for easy access and easy management to our website and our services from your Windows desktop. You can download the Windows Installer of this App for free from:
https://www.webintoapp.com/application/setup/WebIntoAppSetup.msi

CoreUI modal not working – Fix CoreUI modal

I’ve faced a problem when displaying the modal of coreui when calling a js function, such as:

$('#modal-create-token').modal('show');

Well, after searching for a solution I’ve founded that adding CSS style as above will fix the probelm, and the modal of the coreui will be display:

.fade {
  opacity: 0;
  -webkit-transition: opacity 0.15s linear;
  -moz-transition: opacity 0.15s linear;
  -o-transition: opacity 0.15s linear;
  transition: opacity 0.15s linear;
}

.fade.in {
  opacity: 1;
}

.fade.out {
  opacity: 0;
}

Also, you may need to add to the modal tag ‘data-backdrop=”false”‘, for example:

<div class="modal fade" id="modal-create-token" tabindex="-1" role="dialog" data-backdrop="false">

🙂

Add VUE syntax highlighting support to Sublime Text 3

While the Sublime Text 3 editor can handle with the common web development languages (HTML / JS / CSS / PHP / etc), in order to add a syntax highlighting support for VUE, you may need to add a plugin to the Sublime Text 3 editor.

vue-syntax-highlight

The stages to highlighting VUE in Sublime Text 3 are:

1) Open the VUE file in Sublime Text 3

2) Go to menu view->show console

3) Add this to the console:

import urllib.request,os,hashlib; h = '6f4c264a24d933ce70df5dedcf1dcaeeebe013ee18cced0ef93d5f746d80ef60' + '1e3d39e33b79698005270310898eea76'; pf = 'Package Control.sublime-package'; ipp = sublime.installed_packages_path(); urllib.request.install_opener( urllib.request.build_opener( urllib.request.ProxyHandler()) ); by = urllib.request.urlopen( 'http://packagecontrol.io/' + pf.replace(' ', '%20')).read(); dh = hashlib.sha256(by).hexdigest(); print('Error validating download (got %s instead of %s), please try manual install' % (dh, h)) if dh != h else open(os.path.join( ipp, pf), 'wb' ).write(by)

4) Click on Enter. Wait for the installation to finish, this may take a few seconds.

5) Press on CTRL+Shift+p, a new select box should be open.

6) Search for ‘Package Control :: Install Package’ then search for ‘vue-syntax-highlight’

7) Reopen the Sublime Text 3.

That’s it. From now on your VUE script will be highlight in Sublime Text 3

Install Sublime Text 3 on Ubuntu / Debian

Sublime text is my favorite code editor. This editor can handle easily with HTML / Java Script / CSS / PHP and any other web development language.

While installing the Sublime Text 3 on windows is easy, on linux you can install it using the above command lines:

# Download the Sublime Text 3
wget http://c758482.r82.cf2.rackcdn.com/sublime-text_build-3083_amd64.deb

# Install it
dpkg -i sublime-text_build-3083_amd64.deb

That’s it!

Now, in order to open the Sub Lime Text 3 run:

subl

If you want to open a specific document or file:

subl 'the_path_to_the_file_name.php'